

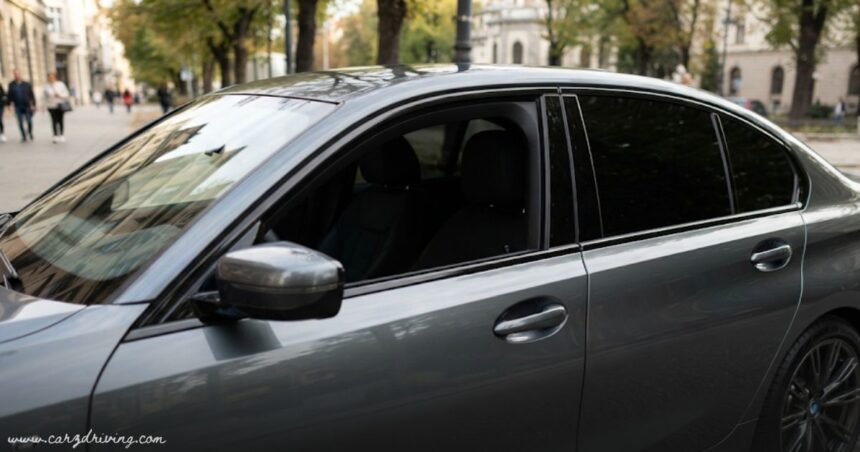
Car windows come in many styles today, and car tinted glass is now a common feature on both older cars and new cars.
Car Tinted Glass
People choose to tint their car windows for a variety of reasons, including privacy, style, safety, and UV protection, and many owners now check local tint laws in their state before they touch the glass.
Some drivers install own tint at home, while others call a professional technician who works in a shaded environment or a well-lit, dust-free garage to get the job done right.
I have watched professionals like Elliot Baker, the founder of Tint School Online, explain how tinted windows differ from factory privacy glass, and his professional touch shows why so many people trust him in their area.
Larger models such as SUVs and Wheelchair Accessible Vehicles (WAVs) often need extra care around the rear windows, and every vehicle owner should gather the right supplies before applying tint anywhere on the glass.
Professional Window Tint Installation Process
Elliot Baker from Tint School Online follows a clear technique when he starts window tinting, and he begins by cutting film to the right size before he starts position film against the windowsill.
He sprays soapy water on the window so the film can glide into place, and he leaves the bottom edge hanging about half inch below the frame so he can tuck it under later. He uses a stainless steel blade to trim the tint along the opposite side, then he slides it to overlap the window by 1 centimeter so it fits properly.
When the window rolled down, Elliot cuts along the top edge and removes the extra film, and he relies on a heat gun and squeegee to shrink film until it fits the glass without a single crease.
He then moves the tinted film to a peel board, where he trims the loose edges before he preps the interior window by cleaning glass and clearing away contaminants and stubborn particles that could leave imperfections on the surface.
A razor blade helps him lift dirt from the surface, and once it is dried off, he sprays it again with soapy water as a standard practice that keeps the whole installation clean.
Once he removes the film backing, Elliot slides the film down into the windowsill so only the bottom half touches the interior at first, then he lets the rest of the film settle on the glass while leaving a small gap at top, which is completely normal in the trade. He squeezes out the soapy water to anchor film to the surface, and drains built into most doors stop the water from reaching internal electronics beneath the panel, so scratching or damage film almost never happens when the process is handled with care. He repeats every step on the opposite window to keep both sides matching.
The rear window brings a new challenge because its curve calls for more shrinking at the top and bottom before install can begin, and fingers, or long bubbles, show where there is too much film for the window.
Too much heat can damage the film, while not enough heat means the tint won’t shrink, so getting this balance right is a true balancing act that takes practice.
Elliot uses the heat gun on these fingers and works the squeegee to push out any air trapped underneath, and once he installs the last piece using the same method, the tint job complete stage arrives and every window looks smooth and even.
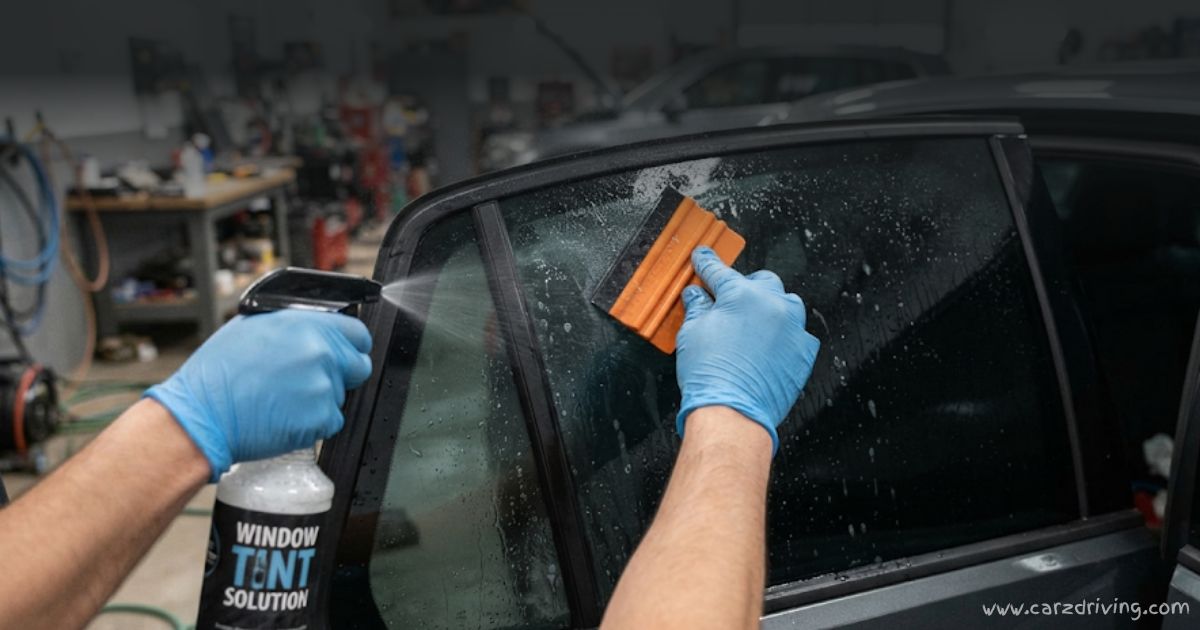
DIY Window Tint Installation Process
First, spray the glass with application solution and dry glass using a low lint cloth, since any leftover dirt or lint contamination will show up as bubbles later.
Gila window film comes with a liner side that protects the sticky side, and once you roll film onto the wet exterior glass, gently stroke the surface to hold the film in place before trimming.
Using a sharp blade at a low angle, cut along the window sills and vertical edges first to avoid damage to the seals, then move to the top edge of window and top of glass for the final trim.
Roll the window rolled up about two inches so the glass is exposed, then use that edge as your blade guide for a clean cut, and reposition film gently to round out any corners. Once the pattern fits, set the remaining roll aside and move on to the interior glass, which also needs a thorough clean before the film goes on for good.
Spray the inside of the window and clean glass with a low lint cloth, then use a razor or plastic scrub pad on any stubborn spots, since passenger cars often trap dirt near the inside gasket. Wrap a dry cloth around the hard edge of the squeegee and clean between the glass and gasket, then spray the glass once more to remove any lint left behind.
To lift film from the liner, place transparent tape at the corner, pull firmly, and separate the clear liner from the sticky side in one motion.
Spray the newly exposed adhesive with Gila application solution to cut static electricity and dirt contamination, then carefully slide into position while the film wet meets the interior side of the glass with the wet adhesive.
Leave the bottom of the liner attached at first so the film does not stick to the door panel, then unfold film into place, leaving a small gap of about an eighth inch at the top and a quarter inch near the inside gasket.
Spray again and use the soft edge of the squeegee to press the top edge firmly, working side to side until every drop of solution and any trapped bubbles are gone.
Gasket pull back carefully so the film can slide into position behind it without a crease, then squeegee firmly downward until the water pushed out clears from beneath the surface.
Finish by wrapping a dry cloth around the squeegee again and press toward the edge, since the cloth will soak up any leftover excess solution before it creeps back under the film and reaches the upholstery.
Rear windows are often curved from side to side and top to bottom, so shrinking film with a heat gun or applying multiple thin strips works better than force on a single sheet.
Trim away any excess film, and always tear excess film rather than cutting further, before you move to the next window.
Always keep the slick side of the liner turned toward you so you know which layer is which, and position film carefully so it lines up evenly on a clean window every time. O’Reilly Auto Parts stores carry every tool a driver needs for this kind of vehicle project.
What is privacy glass on a car?
Privacy glass is glass that gets darkened during the manufacturing process, long before the car built leaves the factory floor, and it usually sits on the back windows of a vehicle to give a stylish look.
It works differently from aftermarket tinting, which uses a thin film added on top of the glass after production is finished.
Because it can reduce visibility for people outside trying to see in, privacy glass adds comfort, security, and privacy to everyday drives.
What’s the difference between privacy glass and tinted windows?
People often use the term tinted windows to cover both types of glass, but there are key differences worth knowing before you choose. Factory-fitted privacy glass becomes part of the glass itself and is built into vehicle at production, while aftermarket tinting film gets added later by a supplier or specialist.
Both options reduce glare and keep the cabin cooler in summer, but film tints can wear over time, and they may fade, bubble, or peel if not applied properly.
Are there any drawbacks?
Privacy glass is not perfect for every driver, and many drivers find it harder to see out of the back windows at night, especially while reversing without good low-light visibility.
If the glass is tinted with film, extra costs can appear later if it needs to be removed or replaced, and factory-fitted privacy glass usually only covers rear windows since the law says front windows must let in at least 70% of light to meet UK legal limits.
Adding nonstandard tinting or choosing a mirrored tint can break lease terms, raise insurance questions, or clash with the standard aftermarket tint rules, so it helps to order vehicle features early and ask your dealer or converter. Choosing plain glass or a factory tint installed from the start avoids retrofitting film and extra costs near the end of lease for any named driver.
What happens if the privacy glass gets damaged?
If privacy glass gets damaged as part of the glass itself, it can usually be repaired or replaced under an all-inclusive package, and you often pay only the standard excess for a full replacement.
Tinted film works differently, since it needs the cost of reapplying covered separately if it gets removed during repair or damaged in an accident.
Whether you notice a small chip or a deeper crack across the windows, the smart move is to call your supplier fast, because quick action gives them a better chance to repair windscreen glass instead of having to replace it entirely.
Why choose privacy glass?
Many customers pick privacy glass or car tinted glass for comfort and dignity, especially passengers who use wheelchairs or need extra care while travelling in the back seat. It also helps cut glare on bright days, which makes long drives easier on the eyes.
Tinted glass also delivers cooler interiors by blocking harsh sun and helping the cabin reduce heat on long trips, which keeps everyone more relaxed. Because it makes it harder to see inside, this feature can deter theft, and many drivers simply like the premium look, appearance, style, and added security it brings to a vehicle.
FAQs of Car Tinted Glass
What is the difference between car tinted glass and privacy glass?
Tinted windows use aftermarket tinting film applied after production, while factory-fitted privacy glass is built into vehicle glass itself.
Why do people choose car tinted glass?
It offers privacy, style, UV protection, cooler interiors, and added security for drivers and passengers.
Are there legal limits for car tinted glass?
Yes, UK legal limits require front windows to let in at least 70% of light under current tint laws.
Can car tinted glass affect visibility while driving?
Yes, it can cause reduced visibility and make it harder to see in low light or during reversing at night.
What happens if car tinted glass gets damaged?
Tinted film may need reapplying at extra cost, while factory-fitted privacy glass is often repaired or replaced under a standard excess.